

![]()
![]()
![]()
![]()
![]()
![]()
![]()
![]()
![]()
![]()
![]()

![]()
|
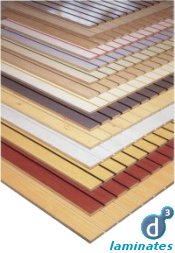
reputation in lamination Using the latest technology and a team of highly experienced fabricators, Design & Display can satisfy your demands for quality laminated products. With
our in-house postforming department we have the ability to produce
all configurations of postformed products. The
fabrication line allows laminated panels to be bonded to a size
of Laminate products can be edged in a number of materials, including 3mm PVC, wood laminate and melamine. The laminate panel can be cut, profiled and edged to any shape and size. |
 |
|
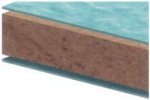
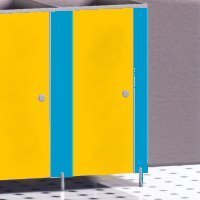
laminated toilet cubicle system Design & Display's toilet cubicles are designed and manufactured to your individual specifications. They are suitable for use in hotels, shops and offices, hospitals, schools, public buildings and restaurants and many more areas. A moisture resistant core is used in places such as swimming pools and shower cubicles. |
 |
|
[click
on highlighted areas to view fixtures]
|
|
cubicle specification |
|
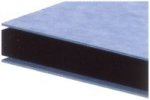
| System
A A 15mm or 18mm core faced two sides in a high pressure decorative laminate with all edges square and faced in laminate. |
 |
| System
B A 15mm or 18mm core faced two sides in a high pressure decorative laminate with doors and partitions square edged and postformed pilasters and top rails. |
|
| System
C A 12mm solid grade laminate core. |
 |
| System
D Economy range 18mm melamine faced and square edged. |
 |
| fitting
a cubicle the clear-cut steps below gives you a basic guide on how to fix together one or more cubicles. Step
1 - Measuring Up Step
2 - Fitting Brackets Step
3 - Fitting Partitions Step
4 - Fitting Fascia Step
5 - Fitting Partition Support Step
6 - Fitting Headrail Step
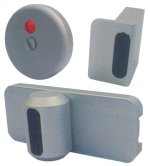
7 - Fitting The Door, Hinges & Lock Assembly
tips
for cleaning and maintenance Grimy panels can be cleaned with a soft damp cloth. To remove persistent stains use organic solvents, e.g. bathroom cleaner. Remember not to use strong acidic or alkaline substances.
|
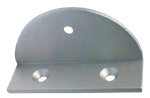
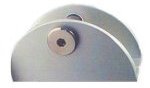
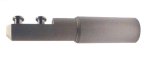
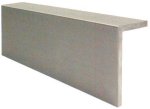
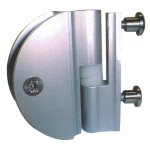
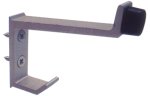
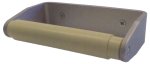
Cubicle
Fixings |
![]()